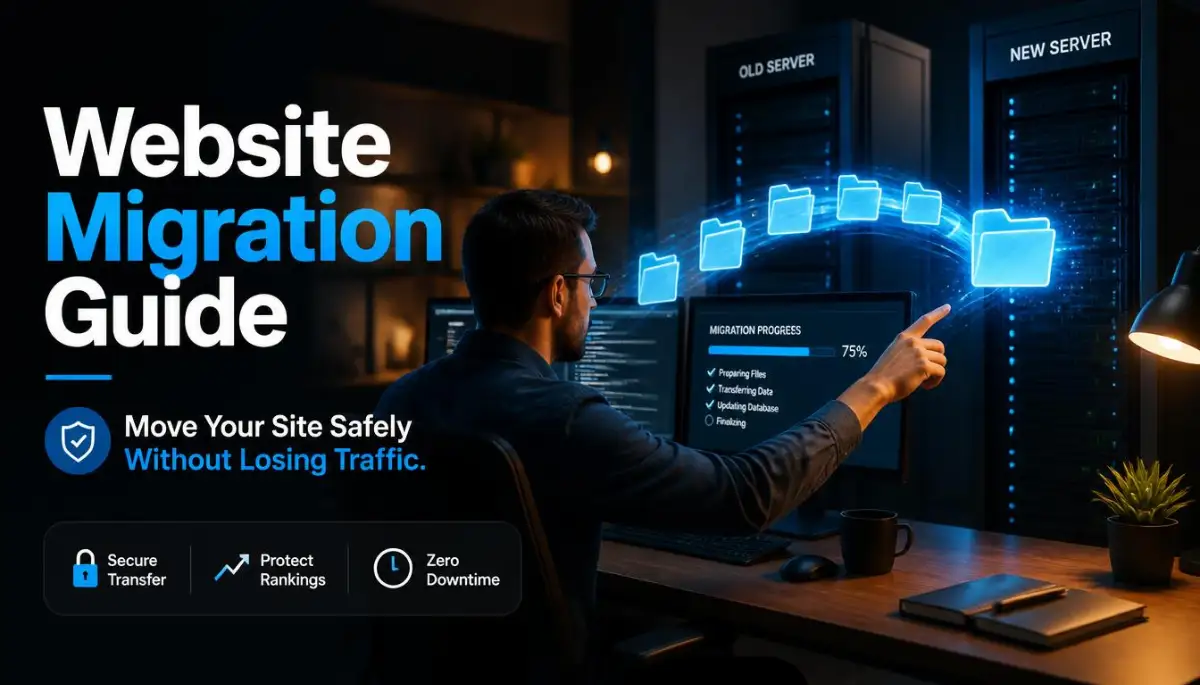
The Hidden Nightmare of Breaking Your Own Website
I still remember the exact moment my stomach dropped and pure panic set in. It was a Tuesday evening, and my online business was finally starting to get a steady stream of traffic. My old hosting provider was incredibly slow, so I decided to take matters into my own hands and move everything to a faster server.
I thought it would be a simple drag-and-drop situation. I was completely wrong.
Within minutes of making the switch, my entire website vanished from the internet. Instead of my beautiful homepage, visitors were greeted by a terrifying white screen displaying an "Error Establishing a Database Connection" message. I had no idea what I did wrong. My heart was pounding, my hands were actually shaking, and I felt a heavy knot in my chest. I sat there staring at the screen, realizing I might have just deleted two years of hard work in a matter of seconds.
Every minute my site was offline, I was losing readers, losing income, and losing the trust of Google. It took me three sleepless nights, countless cups of coffee, and hours begging customer support to finally get my site back online.
I know exactly how scary it feels to mess with your website's foundation. It feels like performing open-heart surgery on your business while blindfolded.
The fear of breaking things keeps so many website owners stuck with terrible, slow, and overpriced hosting providers. You deal with random downtime and awful customer service simply because the idea of moving seems like a guaranteed disaster. The mental weight of an underperforming website is exhausting. You constantly worry if your site will crash during a big traffic spike, stealing away your peace of mind and your hard-earned profits.
But what if I told you that moving your online business does not have to be a nightmare? What if there was a safe, predictable way to pack up your digital life and move it across the internet without anyone even noticing?
Mapping Out Your Digital Moving Day
Think of your website as a physical house. When you move to a new neighborhood, you do not just throw everything out the window and hope it lands in the new living room.
You carefully pack your fragile items into boxes, label them clearly, and hire a reliable moving truck. You also make sure your new house has electricity and water before you actually sleep there. Moving your website requires the exact same level of careful planning and logic.
We are going to approach this entirely based on safety and risk management. By following a structured approach, you remove all the guesswork. You will always have a safety net to fall back on.
Before we touch a single file, you need to understand the golden rule of moving servers: never cancel your old hosting account until the new one is running perfectly. Your old server acts as your safety blanket. If anything goes wrong during the transfer, your original site remains completely untouched and visible to your visitors.
The Myth vs Reality of Moving Hosts
Many people believe that transferring a site automatically causes ranking drops. Let us clear that up right now.
Myth: Google will penalize your site for changing IP addresses during a migration.
Reality: Google does not care where your site is hosted, as long as it is fast, secure, and accessible. If you handle the transition smoothly, your rankings will actually improve because your new server is likely much faster.
The real danger comes from broken links, missing images, and prolonged downtime. When a search engine bot tries to crawl your site and hits a dead end, that is when your SEO takes a massive hit.
Our primary goal here is to achieve zero downtime. We want your visitors to browse your articles and buy your products without ever realizing that the server behind the scenes is being swapped out.
Packing Your Digital Boxes (The Backup Phase)
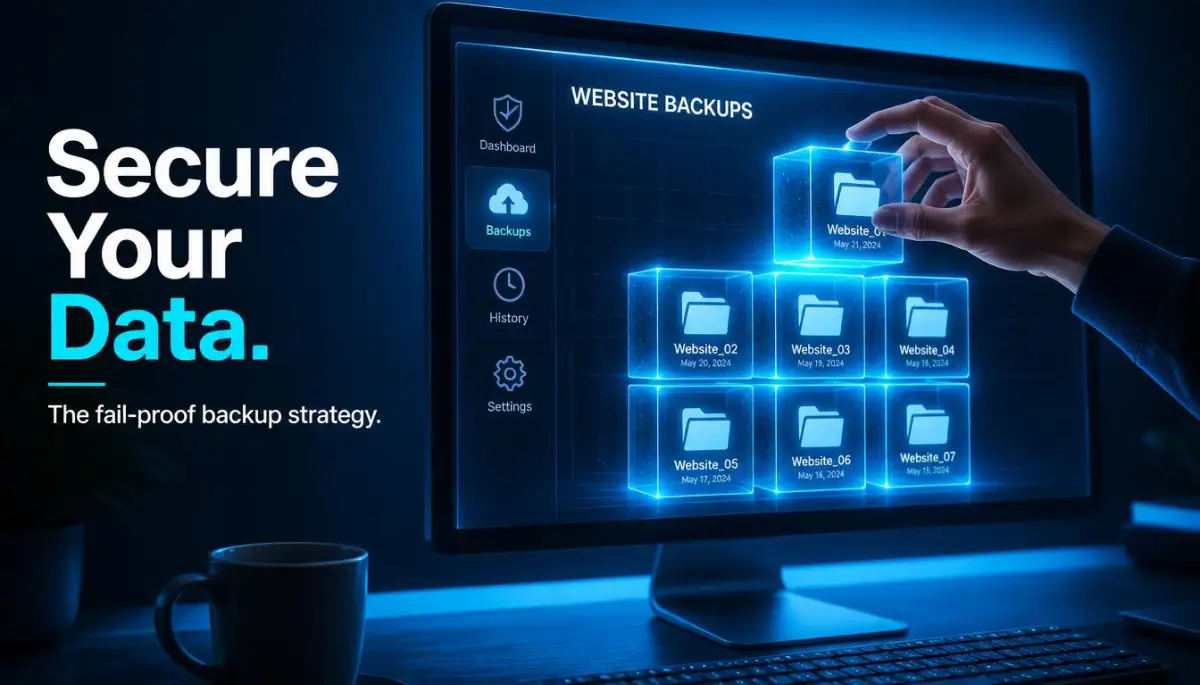
You cannot move what you do not have. The most critical part of this entire operation is securing a perfect, uncorrupted copy of your current website.
Do not trust your hosting provider's automatic backups for this step. You need a manual, freshly generated backup stored safely on your local computer. If a server farm catches fire tomorrow, you want your website sitting safely on your hard drive.
A complete backup consists of two completely different parts. First, you have your website files. These are your images, your themes, your plugins, and the core software that makes everything look pretty.
Second, you have your database. The database is the invisible brain of your operation. It holds every single word you have ever written, every comment left by a reader, and all your user account details.
Pro Tip: I once relied solely on a backup plugin, only to find out the backup file was corrupted right when I needed it most. Since that terrifying day, I always download a raw copy of my wp-content folder and a clean database export directly from my hosting panel. Trust me, spending an extra ten minutes doing a manual backup will save you weeks of depression later.
If you are using a popular platform, you have access to incredible tools that do the heavy lifting for you. However, you should still understand what these tools are doing behind the scenes. They zip your files and your database into one neat little package, making it easy to carry over to the new destination.
Before you watch the tutorial below, remember that a good backup strategy is the ultimate cure for website anxiety. Watch how this simple backup method can instantly protect years of your hard work from accidentally getting wiped out.
Take your time with this phase. Check the downloaded file size. If your website has hundreds of high-quality images but your backup file is only a few megabytes, something went wrong. Always verify that your digital boxes are actually full before you drive away.
Preparing the New Environment
Now that your data is safely packed, it is time to unlock the doors to your new server. You want to set up the environment so it is perfectly ready to receive your files.
When you purchase a new hosting plan, the server is completely empty. It is a blank canvas. You need to connect your domain name to this new space internally, even though the public internet is still pointing to your old host.
Most modern hosting dashboards have an option to add an "Addon Domain" or set up a primary domain during checkout. Once the system recognizes your domain, it creates a specific folder on the server just for your files.
Next, you need to create a fresh, empty database. This is like building empty shelves in your new house, ready to hold all your books.
Write down the database name, the database username, and the secure password you create. You will need these three pieces of information to connect your files to their new brain. Keep this information in a secure text file on your desktop for quick access.
Comparing the Old and New Setup
Before you start unpacking, it is wise to make sure your new environment matches or exceeds the old one. This simple check prevents massive headaches down the road.
If your old site was running on a specific version of PHP, make sure your new server is running the same version or slightly higher. Downgrading server software is a guaranteed way to break modern themes and plugins.
The Art of Unpacking Your Data
This is where the magic happens. You are going to upload your packed boxes into the new empty house.
You have a few ways to transfer these files. If your backup file is small, you can usually upload it directly through the File Manager in your new hosting account. Just upload the zip file and extract it right there on the server.
If you have a massive website with gigabytes of data, web browsers will usually time out and fail the upload. In this real-life scenario, you need to use an FTP client. This is a special piece of software designed solely to move heavy files across the internet without failing.
Once your files are resting comfortably in their new folder, you need to import your database.
Go into your new hosting panel and find the database management tool. Select the empty database you created earlier, choose the import option, and select the database file from your computer. Within a few seconds, all your written content, settings, and user data will populate the empty shelves.
At this exact moment, you have a perfect, identical clone of your website sitting quietly on the new server. But the world cannot see it yet.
Bridging the Gap (Connecting Files to the Database)
Even though your files and your database are in the same building, they do not know how to talk to each other yet.
They are looking for the old passwords and the old server details. You have to give them the new address. If you use a content management system, this usually involves opening a specific configuration file and typing in the new database details you saved earlier.
Find the file that controls your site's main settings. Open it using the code editor in your file manager.
Look carefully for the database name, username, and password fields. Carefully delete the old information and paste in the new details. Do not accidentally delete any quote marks or semicolons, as this will instantly break the connection. Save the file and close it.
Your cloned website is now fully assembled, breathing, and ready to work. It is securely sitting on the new hardware, waiting for the spotlight.
Testing the Waters Before Opening the Doors
This step separates the amateurs from the professionals. Most people just flip the switch immediately and hope everything works. That is incredibly risky.
We are going to use a clever trick to test your new site privately. We want to browse the new server while the rest of the world still sees the old server.
Your new hosting provider will usually give you a "Temporary URL". This is an ugly, long web address that points directly to your specific server folder.
Click that temporary link. If everything was done correctly, you will see your website load.
However, you must look closer. Do not just glance at the homepage and celebrate. Click on your articles. Try submitting a contact form. Check if your images are loading correctly or if they are showing broken icons.
Sometimes, certain links might still redirect you back to the old server. This happens because your website's database still thinks it lives at the old address. If you notice this happening, you will need to update your site URLs inside the database to ensure everything routes perfectly on the new hardware.
Take a deep breath and spend at least twenty minutes rigorously testing every single page on the temporary URL. Once you are absolutely confident that the new clone is flawless, you are ready for the final, most satisfying step of the entire journey.
Expert Secrets for a Flawless Server Transition
You have successfully copied your entire website, and it is quietly resting on the new server. Now comes the moment of truth. You have to tell the internet to stop looking at your old host and start looking at the new one.
This process is called updating your Nameservers, and it is the bridge between your domain name and your web content. However, this is where many beginners experience a massive drop in traffic. To avoid that, you need to understand exactly how the global network updates itself.
When you change your domain settings, the update does not happen everywhere instantly. It ripples across the world slowly, much like a rumor spreading from one town to the next. This waiting period is known as DNS propagation.
During this time, some visitors will be sent to your old server, while others will land on your new server. If you want a deep dive into the mechanics of this, reading a reliable guide on understanding how DNS works can give you a solid technical background. But for our practical purposes, we just need to manage this transition smoothly.
The Invisible TTL Trick
Here is a pro-level secret that almost nobody talks about. You can actually control how fast the internet notices your new server address. It all comes down to a setting called TTL, or Time to Live.
Think of TTL as a set of instructions you give to internet service providers. It tells them how long they should remember your old server address before checking for an update. By default, most hosting companies set this memory timer to twenty-four hours.
If you change your server address with a high TTL, your visitors might see a broken site for an entire day. To fix this, you need to log into your domain registrar a few days before your big move. Find your DNS settings and lower the Time to Live (TTL) mechanisms to just five minutes.
By doing this, you are forcing global routers to check for your new address almost immediately. When you finally flip the switch and update your Nameservers, the transition will happen in minutes rather than days. This is how the professionals achieve absolute zero downtime.
Securing the Connection Before Going Live
Another massive headache you must avoid is the dreaded "Not Secure" warning. Modern web browsers are extremely strict about security certificates. If your new server does not have an active SSL certificate ready, your visitors will be blocked from viewing your content.
You cannot just assume your new host will automatically generate a certificate on day one. You have to force the issue. Before you update your Nameservers, log into your new control panel and look for the SSL management section.
Many modern platforms allow you to install a temporary certificate or verify the new IP address directly. Taking this extra step ensures your visitors never see that terrifying red warning screen. Security is the foundation of building trust, much like focusing on quality is the secret to building products that people actually love.
Managing the Caching Chaos
Once the domain starts pointing to the new server, you might still see your old website layout. Do not panic. This is usually just a local caching issue.
Your web browser tries to load pages quickly by saving an older version of your site in its memory. You need to completely clear your browser cache to see the live results of your hard work. I highly recommend using an entirely different device, like your smartphone on a mobile data network, to verify that the new site is loading properly.
You also need to clear any server-side caching plugins you have installed on your website dashboard. Old cache files are notorious for breaking layouts after a server move. A clean cache guarantees that search engines and real users are seeing the freshest version of your content.

Hidden Traps That Will Sink Your Website
Even with a perfect plan, human error can easily sneak in and ruin your day. Moving a website is an emotional process, and when we are stressed, we tend to rush. Let us walk through the most dangerous pitfalls that catch even experienced website owners off guard.
When you are aware of these common traps, you can step right over them. Preventing disasters is always cheaper and less stressful than trying to fix them after the damage is done.
The Split-Brain Scenario
This is perhaps the most common and devastating mistake you can make. It happens when you point your domain to the new server but forget to put your old website into "maintenance mode" during the transition.
Remember how we talked about the DNS propagation period? For about twenty-four hours, the internet is split in half. Half of your visitors are browsing the new server, and the other half are still landing on the old server.
If you run an online store, this is a total nightmare. A customer might buy a product on the old server, but that order will never show up on your new server's database. To avoid this split-brain data loss, you must temporarily pause all transactions and comments on your old site right before you make the switch.
The Missing Email Disaster
People get so focused on moving their website files that they completely forget about their professional email addresses. Your custom email (like contact@yourdomain.com) is directly tied to your hosting environment.
If you aggressively cancel your old hosting account without backing up your emails, every single message in your inbox will be permanently deleted. This is a painful way to lose important business contacts and client communications.
Before you make any changes, you must recreate your exact email addresses on the new server. Then, you need to update your MX records to ensure incoming messages are routed to the new destination. Taking the time to handle this correctly is a big part of protecting your business and taking control of your financial future.
The Hardcoded Link Trap
Sometimes, old images and internal links refuse to update to the new server environment. They remain stubbornly attached to temporary URLs or old directory paths. We call these hardcoded links, and they are terrible for your user experience.
When a visitor clicks a broken link, they hit a dead end. This frustration is very similar to dealing with a sudden slow internet connection right when you need to finish a project. It immediately drives people away from your brand.
To fix this, you must run a "Search and Replace" tool on your database after the move is complete. You need to scan the entire database for any mention of your old temporary URL and replace it with your clean, official domain name. Following the Google Search Central guidelines on site moves can also help you identify structural errors that might hurt your rankings.
Pulling the Plug Too Early
Patience is incredibly important during this process. Do not rush to the finish line just because you see your new homepage loading correctly.
Never, ever cancel your old hosting account immediately after the domain switch. Keep your old account active for at least two full weeks. This gives you a massive safety cushion in case you suddenly discover missing files or broken database tables.
Think of your old host as an emergency backup generator. You do not throw it away just because the main power came back on. You keep it running quietly in the background until you are absolutely certain the new system is completely stable.
Your Next Steps for a Faster Online Business
Moving your digital home can feel overwhelming, but you now have a complete, predictable roadmap to follow. You understand how to pack your data safely, prepare your new environment, and flip the switch without causing a total blackout.
By taking things one step at a time, you eliminate the fear of the unknown. You are no longer guessing and hoping for the best. You are actively controlling the entire process from start to finish.
A faster, more secure server will completely change the way you run your business. It allows you to handle more traffic, rank better in search engines, and provide a seamless experience for your readers. Just like smart organization can make your tiny room look huge, optimizing your server environment allows your small business to perform like a massive enterprise.
Make sure to bookmark this guide and use it as your personal checklist. Take a deep breath, gather your backup files, and prepare to give your website the powerful hardware it truly deserves. Your central online business hub is about to get a massive performance upgrade.
I know exactly how intimidating that final "save changes" button can feel when you are moving your site. My best advice is to simply trust the backup you created and follow the process strictly without rushing. You have completely got this, and the peace of mind you will feel on the other side is absolutely worth the effort.
Frequently Asked Questions About Changing Hosts
Will changing my web host destroy my search engine rankings?
No, changing servers will not hurt your SEO if you do it carefully and ensure zero downtime. In fact, if your new host provides faster loading speeds, your search rankings will likely improve over time.
How long does the domain propagation actually take?
Usually, the global update takes anywhere from a few hours to a maximum of two days. However, if you lower your TTL settings beforehand, the switch can happen in a matter of minutes.
Should I put my website in maintenance mode during the transfer?
Yes, it is highly recommended to use maintenance mode on your old server during the final switch. This prevents visitors from leaving comments or buying products on the old database while the network is updating.
Can I migrate my files without using any special plugins?
Absolutely. Manual migrations using File Manager and an exported database are actually the safest way to move data. It gives you complete control over your files without relying on third-party tools that might crash.
What happens to my old website after the domain is pointed to the new host?
Your old website continues to exist exactly as it was on the old server, but the public internet can no longer reach it. You can safely delete those files and cancel the old account after a few weeks of successful testing.
Disclaimer: The information provided in this article is for educational and informational purposes only. Website environments vary greatly, and you should always perform complete manual backups before making any server-level changes. We are not responsible for any data loss, downtime, or technical issues that may occur during your personal migration process. Always consult with your hosting provider's technical support team if you are unsure about modifying core server files or DNS settings.
![How to Secure Your Website and Stop Hackers [The Ultimate Blueprint]](https://topic36.com/storage/uploads/blogs/1787043730_how-to-secure-your-website-and-stop-hackers-the-ultimate-blueprint.webp)